In today’s digital age, you might assume knowing how to write a check is outdated. But sometimes, a check is the preferred — or even the only — way to make a payment. That’s why it’s important to understand how to write a check correctly. I’ll guide you through every step, so you’ll be prepared the next time the need arises.
This blog post is all about how to write a check.

Home > Social Media > How To Write A Check
DISCLOSURE: This is not sponsored post. However my blog does have affiliate links, I may receive a commission if you decide to make purchases at no cost for yourself! Check out our disclaimer for more info on how it works.
Table of contents
Why You Still Might Need To Write a Check
We rely on debit cards, credit cards, and payment apps, making checks feel like relics of the past. Yet, several circumstances might require you to use your checking account and write a check:
- Landlords and Property Managers: Some rental agreements still use checks for monthly payments.
- Government Agencies: Certain offices, particularly on a local or state level, sometimes prefer checks.
- Independent Contractors and Small Businesses: These businesses sometimes favor checks to avoid credit card processing fees. This was certainly my experience when I first started my business.
- Gifts and Donations: Checks offer a more personal touch for weddings, graduations, or contributions to charitable organizations.
- Situations Where Cash Isn’t Accepted: Certain campsites, farmers’ markets, and events might exclusively accept checks.
While digital payments are convenient, understanding how to write a check remains an essential financial skill. Knowing how to write a personal check is a vital part of personal finance.
How To Write a Check: A Detailed Guide
Let’s break down the process of how to write a check step by step.
Step 1: Date the Check
Locate the date line in the upper right corner of the check. Write the current date, either in full (e.g., January 15, 2024) or using a numerical format (e.g., 01/15/2024). This helps you and the recipient keep track of when the check was written.
Step 2: Indicate the Payee
The line that reads “Pay to the order of” is where you write the name of the person or business you’re paying. This is called the payee. Double-check the spelling to ensure accuracy. For extra caution, confirm the spelling with the recipient. It’s a small step that can prevent big headaches later.
Step 3: Fill in the Numerical Amount
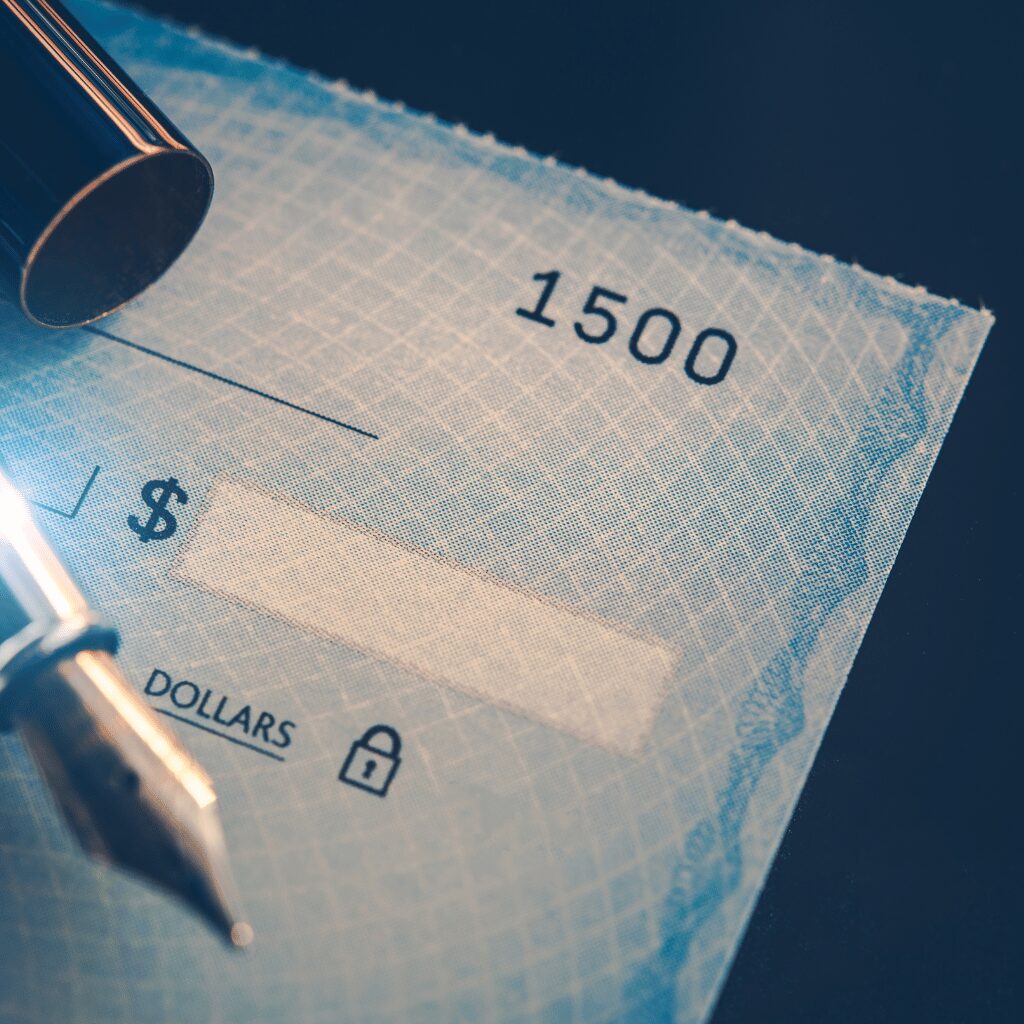
In the small box on the right side of the check, write the payment amount numerically. This box is located next to the dollar sign. Write the numbers as close to the dollar sign as possible to avoid any alteration. For example, for a payment of $125.50, write it as “$125.50”, not “$________125.50”.
Step 4: Write Out the Amount in Words
On the line below “Pay to the order of”, write the dollar amount using words. This serves as a confirmation of the numerical amount and is how you write a check properly. Be clear and concise. For example, write “One hundred twenty-five and 50/100”. If there are no cents, use “00/100” or “Zero and 00/100.” Draw a line to fill any remaining space on this line to prevent fraud.
Step 5: Include a Memo
The memo line, though optional, helps you and the recipient remember the check’s purpose. This line could include things like an invoice number, account number, or what the payment is for (like “January Rent”). Using the memo line for important reference numbers can help if the check gets separated from other payment documentation.
Step 6: Sign the Check
Your signature in the bottom right corner authorizes the payment. Don’t sign until you’ve completed all other sections to prevent fraud.
Important Reminders
- Always use a pen. Avoid using a pencil to write a check. This simple practice minimizes the chance of fraudulent alterations.
- Keep your checkbook secure. Treat your checkbook like cash. Store it in a safe place to prevent theft or unauthorized access.
- Monitor Your Transactions: Keep track of written checks and regularly balance your check register to avoid overdraft fees.
Where Is the Routing Number on a Check?
A routing number is a nine-digit code that identifies the financial institution where your checking accounts are held. It plays a crucial role in ensuring that funds are transferred accurately between banks.
The routing number for your bank is located at the bottom left corner of your check. It’s important to input this information correctly, as even a small error can lead to delays or complications with your transaction. This number is also essential for setting up direct deposit or online bill pay services.
How To Fill Out a Check For Mobile Deposit
Many banks now offer a mobile deposit feature, allowing you to deposit checks using your smartphone or tablet. Here’s a step-by-step guide on how to fill out a check for mobile deposit, ensuring a smooth and hassle-free experience:
1. Endorse the Check
Before you can deposit the check, you’ll need to endorse it. This involves signing your name on the back of the check, typically in the designated endorsement area. By endorsing the check, you authorize the bank to process the deposit. Your signature on the back should match the name printed on the front of the check.
2. Take Clear Photos
Using your bank’s mobile app, access the mobile deposit feature and follow the on-screen instructions. Typically, you’ll need to take pictures of both the front and back of the endorsed check. Ensure that your photos are clear, well-lit, and capture all four corners of the check to avoid any processing issues. Avoid shadows or glares that could obscure any part of the check’s information.
3. Verify and Submit
Once you’ve captured the photos, double-check that all the check details, including the payment amount, payee information, and your signature, are clearly visible and accurate. Review the images and confirm they meet your bank’s requirements. After verifying all the information, submit the deposit through the app. The funds will typically be available in your account within 1-2 business days.
What Information Do I Need To Give Someone To Deposit a Check?
To ensure someone can successfully deposit a check made out to you, they will generally need the following information:
| Information | Description |
|---|---|
| Your Full Name (as on the check) | The check must be made out to the individual’s full legal name as it appears on their government-issued identification and bank account. |
| Bank Name | The name of your financial institution is necessary for the deposit. |
| Account Number | This unique number identifies your specific account within the bank. |
For security reasons, avoid sharing sensitive information like your Social Security number, driver’s license number, or the check’s routing number unless it’s absolutely necessary and you trust the recipient.
Conclusion On How To Write A Check
Understanding how to write a check empowers you with a fundamental financial tool, ensuring you’re ready for any scenario where writing a check is required. From paying rent to sending gifts, mastering this skill provides a sense of preparedness in our increasingly digital world.
RELATED POSTS:
- Affiliate Marketing for Beginners: Full Step-by-Step System
- Facebook Theme Pages
- Facebook Monetization: The 2026 Guide to Earning Income from Your Posts
- Guide to Selling Printables on Amazon for Profit
- How to Make Money with PLR Products: A Beginner’s Guide
📌 Did you find this post helpful? Want to come back to it later? Save THIS PIN to reference later!


+ show Comments
- Hide Comments
add a comment